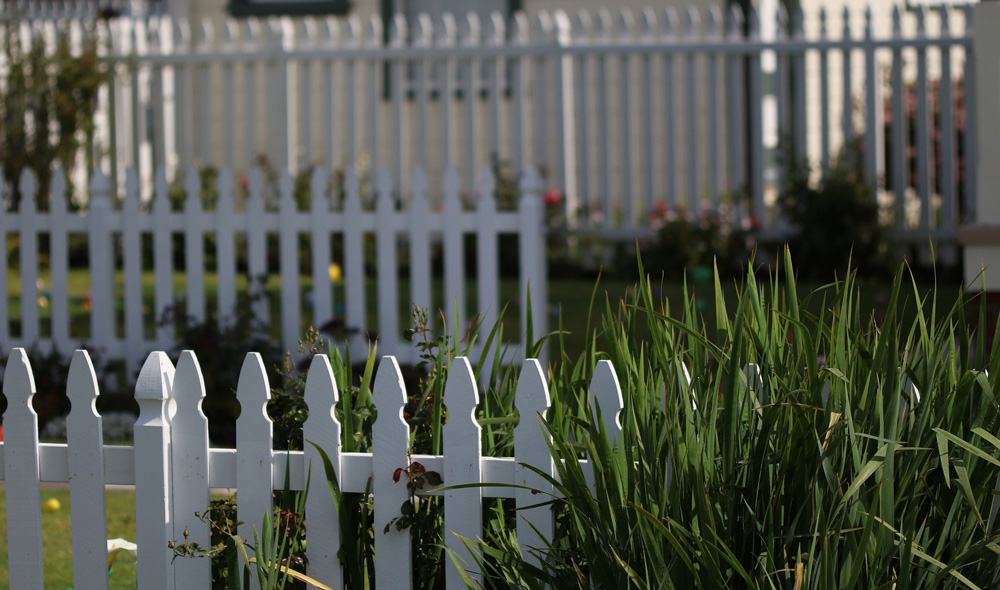
A traditional picket fence adds a touch of timeless elegance and charm to any property. If you’re looking to enhance your outdoor space with a classic picket fence, this step-by-step guide will walk you through the process of building one. Whether you’re a DIY enthusiast or a homeowner eager to tackle a new project, follow these instructions to create a beautiful and functional picket fence that will enhance the aesthetics and character of your property.
Step 1 Plan and Prepare
- Determine the length and height of your picket fence, considering your property boundaries and local regulations.
- Gather the necessary tools and materials, including fence posts, pickets, rails, nails or screws, concrete, and a level.
- Check with local authorities if any permits are required for building a fence in your area.
Step 2 Mark the Fence Layout
- Use stakes and string to mark the fence layout, ensuring it follows a straight line.
- Measure and mark the locations for fence posts, keeping in mind that pickets are typically spaced 2-3 inches apart.
Step 3 Dig Post Holes
- Use a post hole digger to dig holes for the fence posts.
- The depth of the holes should be one-third the length of the posts, plus an additional 6 inches for gravel.
Step 4 Set the Fence Posts
- Place a few inches of gravel or crushed stone at the bottom of each post hole for drainage.
- Set the first fence post in a hole, making sure it is plumb and level.
- Pour concrete mix into the hole, following the manufacturer’s instructions, and allow it to cure.
- Repeat this process for the remaining fence posts.
Step 5 Install Rails
- Attach the top and bottom rails between the fence posts, ensuring they are level and securely fastened.
- Use nails or screws to secure the rails to the posts, maintaining equal spacing between them.
Step 6 Attach Pickets
- Start at one end of the fence and attach the pickets to the rails.
- Place each picket against the rail, ensuring it is plumb and level.
- Use nails or screws to secure the pickets to the rails, leaving a small gap between each picket for expansion and contraction.
- Continue attaching pickets until the entire fence is covered.
Step 7 Add Finishing Touches
- Trim any excess length from the pickets to achieve a neat and uniform appearance.
- Consider adding decorative elements, such as a gate or finials, to enhance the aesthetic appeal of your picket fence.
Step 8 Maintenance and Care
- Regularly inspect your picket fence for any signs of damage or wear.
- Make necessary repairs promptly, such as replacing broken pickets or tightening loose screws.
- Apply a protective sealant, stain, or paint to your picket fence to prolong its lifespan and maintain its appearance.
Building a traditional picket fence requires careful planning, attention to detail, and the right materials. By following this step-by-step guide, you can create a beautiful and functional picket fence that adds charm and character to your property. Remember to adhere to local regulations, take accurate measurements, and ensure proper alignment throughout the construction process. With a little effort and creativity, you’ll soon have a delightful picket fence that not only enhances the aesthetics of your outdoor space but also provides a welcoming and timeless touch to your home.